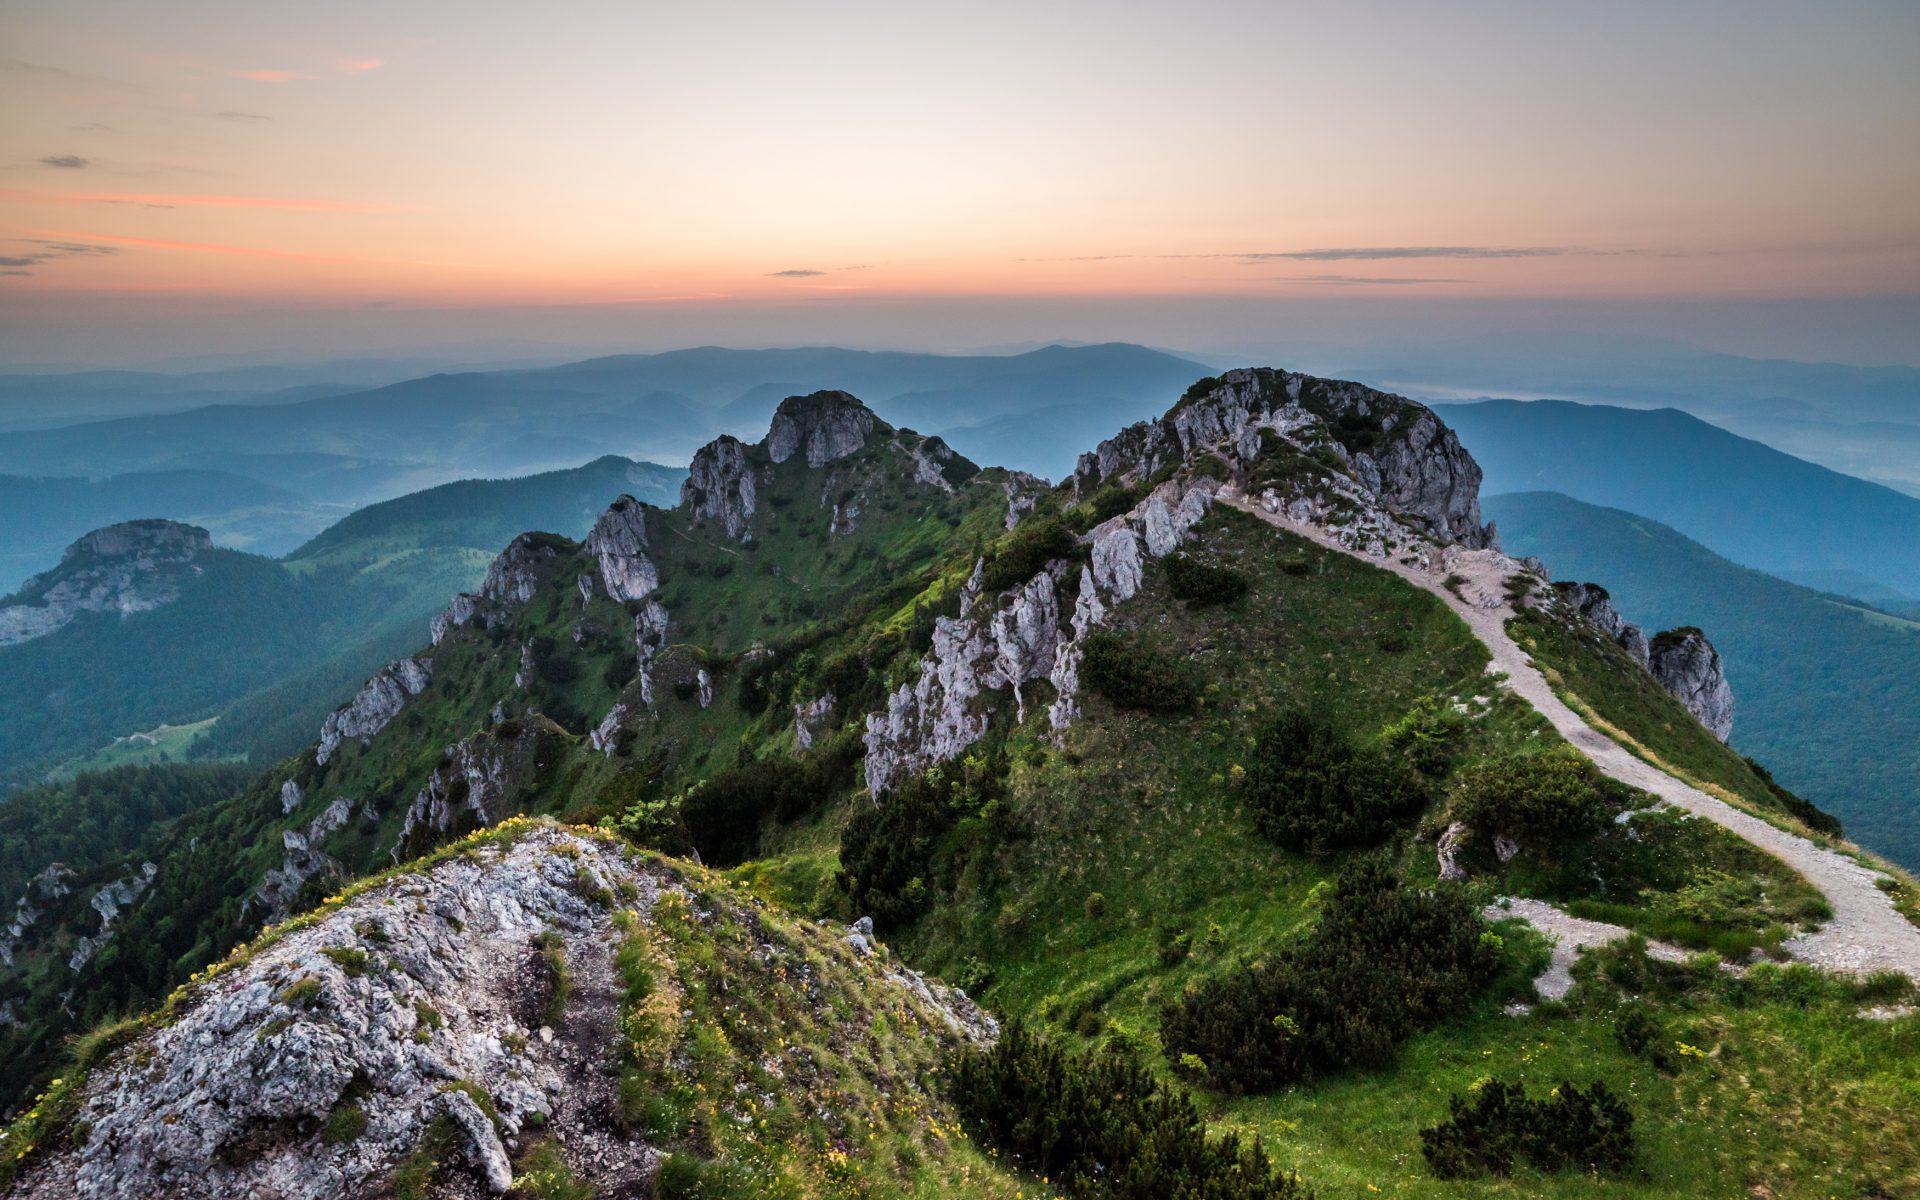
Come and enjoy the scenery of Vrátná Valley and other Slovak mountains from the ridge of Malá Fatra, climb ladders in the unique Jánošík Holes, and climb Kriváň or Rozsutec.
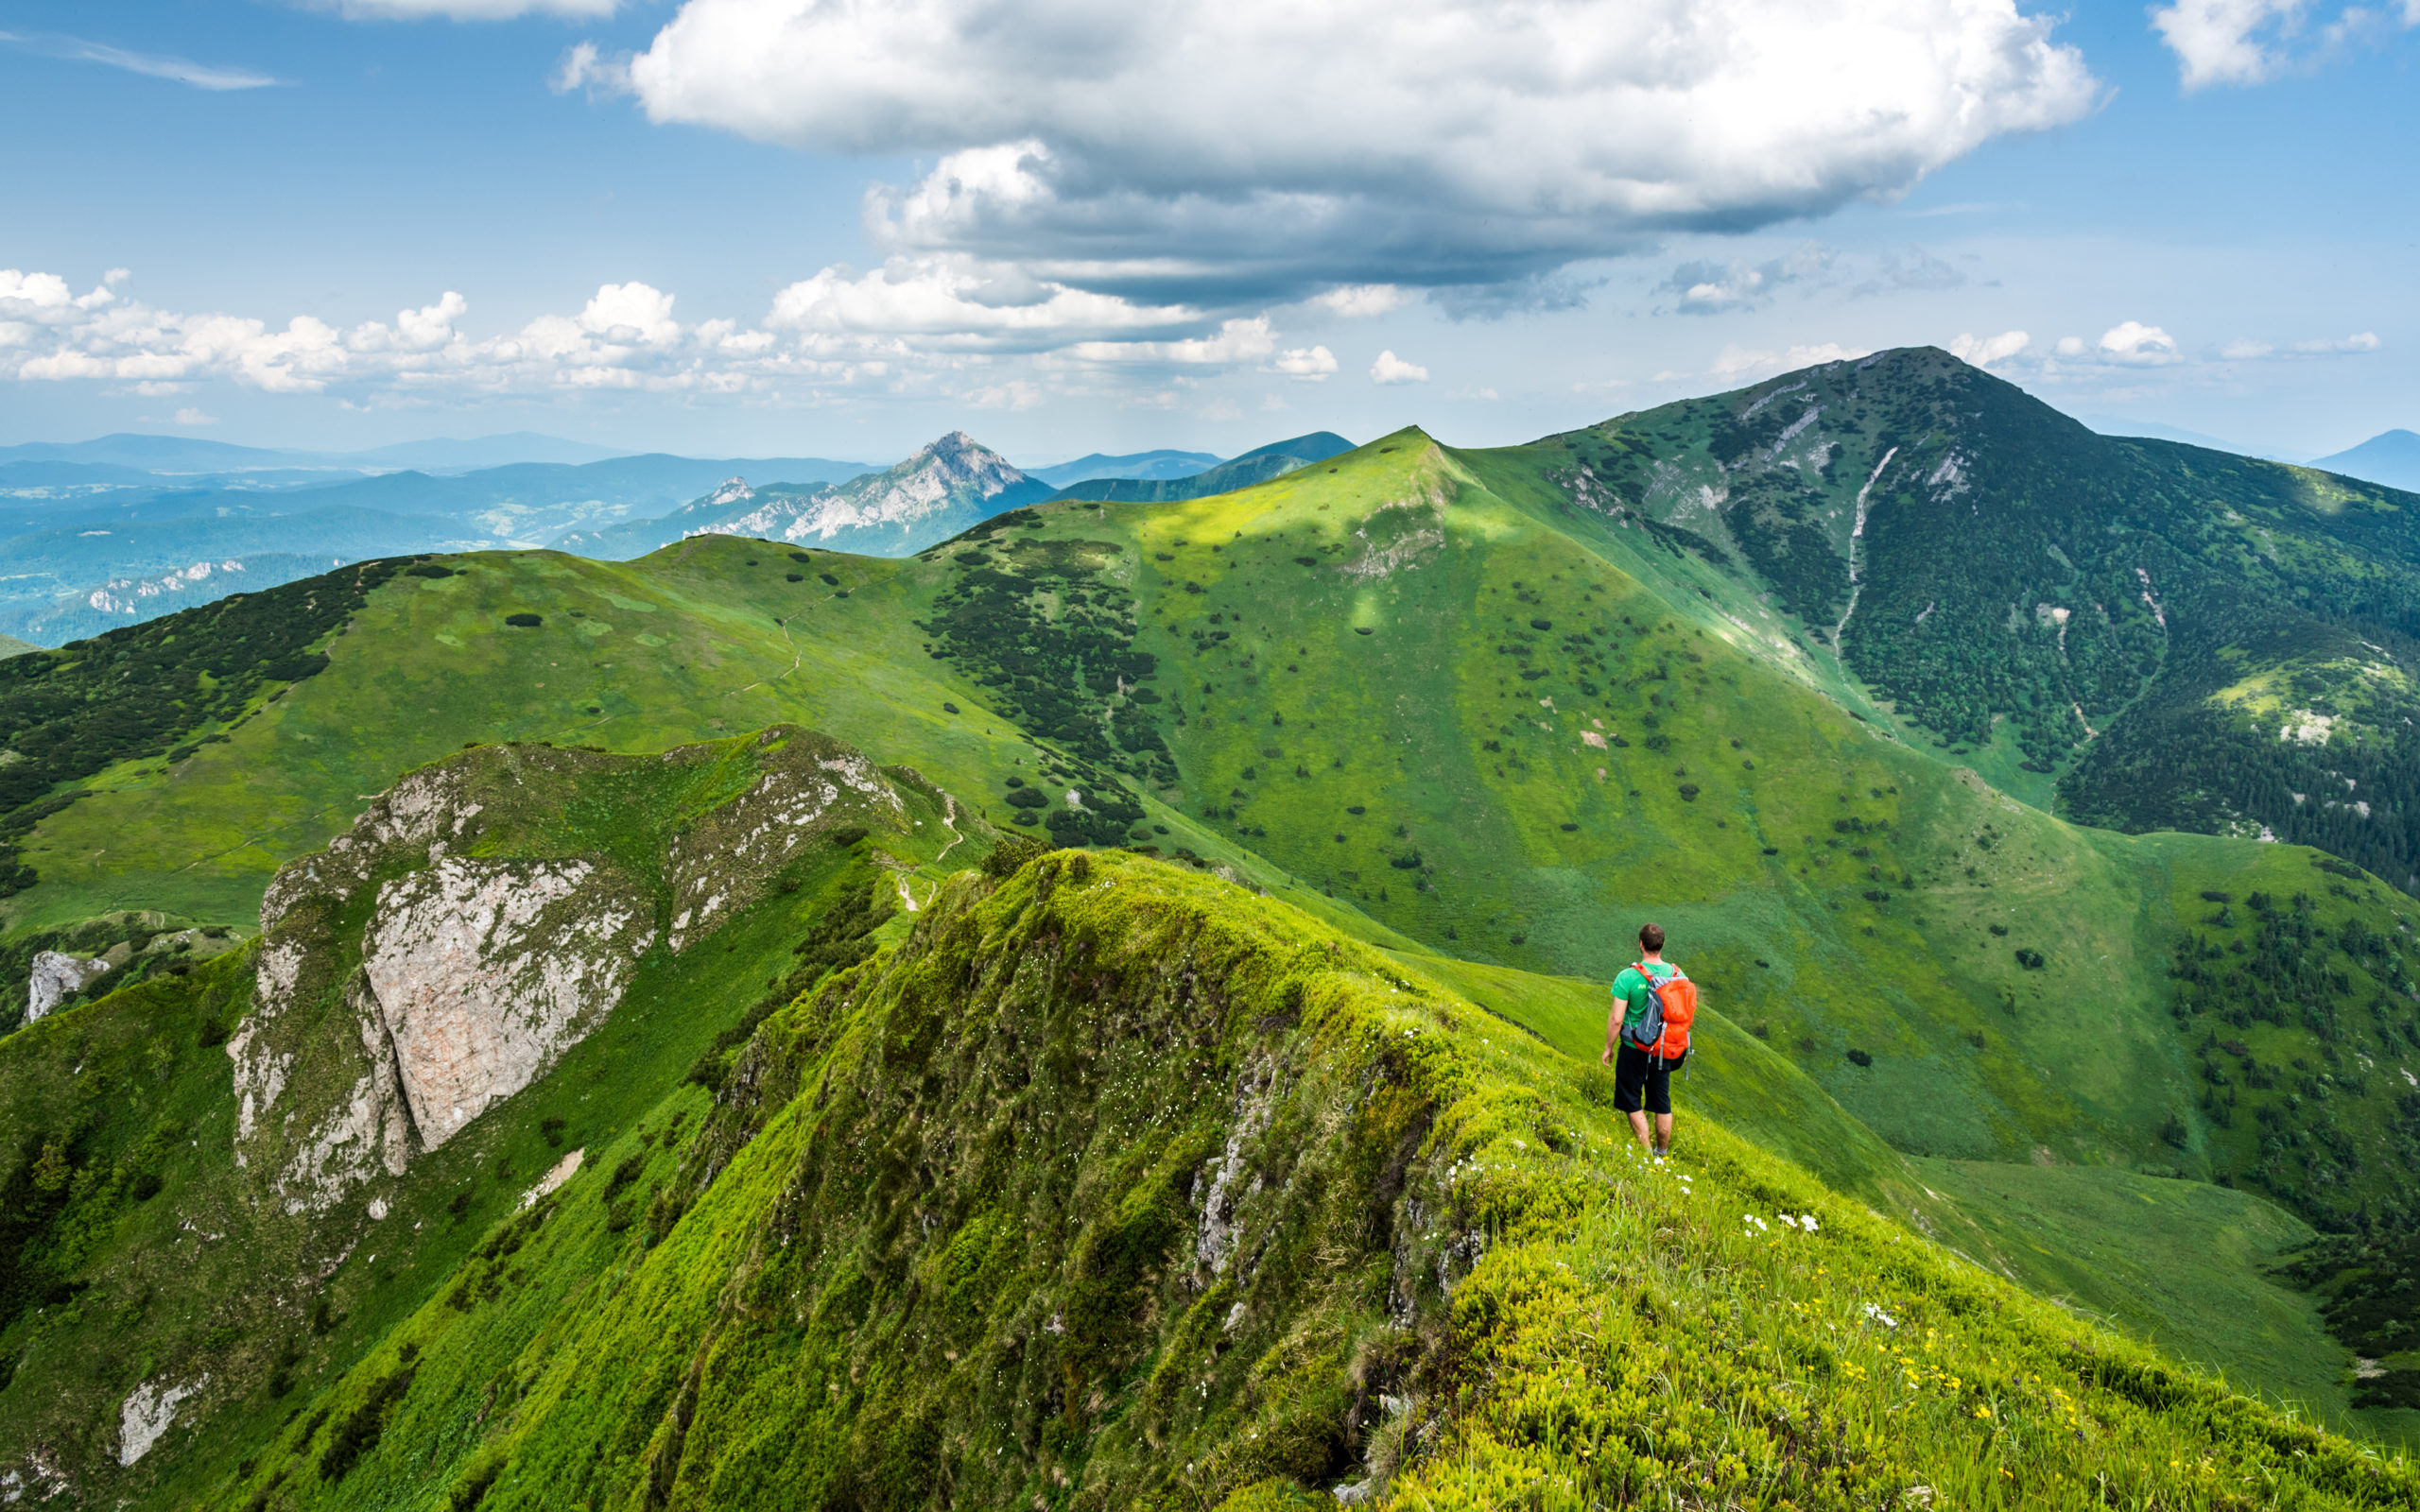
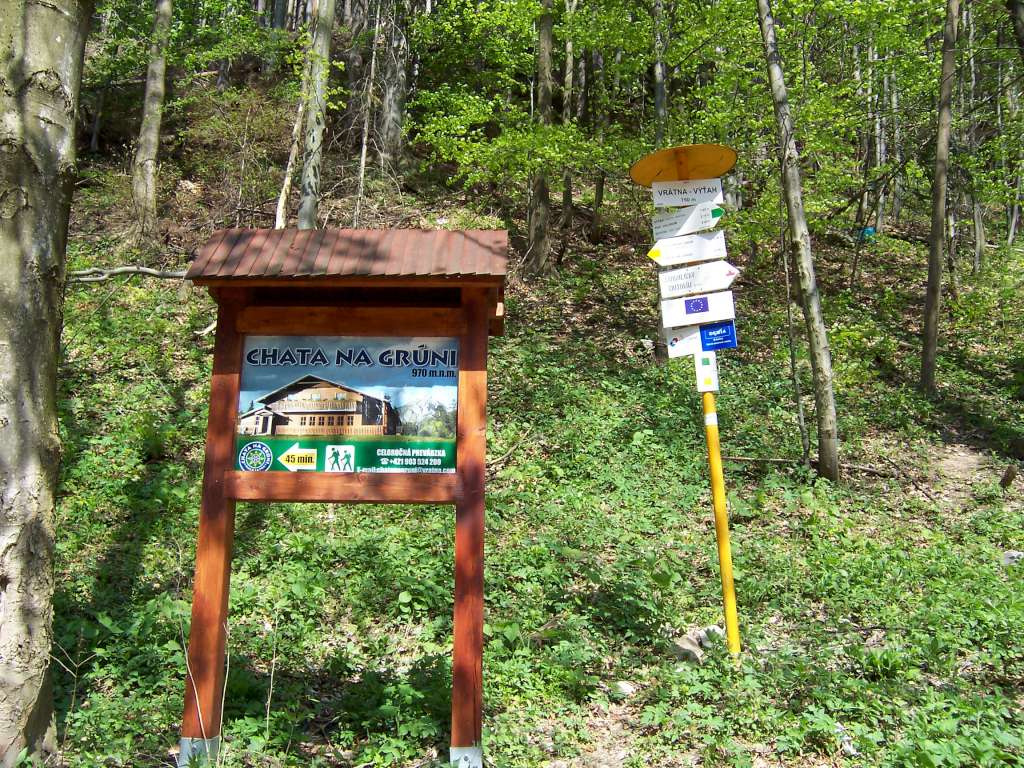
It is an amazing and unforgivable experience during your visit to Vrátna Valley. The most beautiful and accessible part leads from the cable car station on Snilovské sedlo (1524m) to Chleb (1645m), further to Hromová (1636m), Steny, Poludňový Grúň (1460m) to Stohové sedlo (1230m). From there it continues to the prominent peak of Stoh (1607m) and across the Medziholie saddle (1185m) to the most beautiful peak of Veľký Rozsutec (1609m). The ridge descends to the Medzirozsutce saddle (1225m). From here there is a beautiful descent through Horný and Dolný diera to the parking lot in Štefanova. From Poludňový Grúň you can descend along the trail (down the hillside) directly to Chata na Grúni.
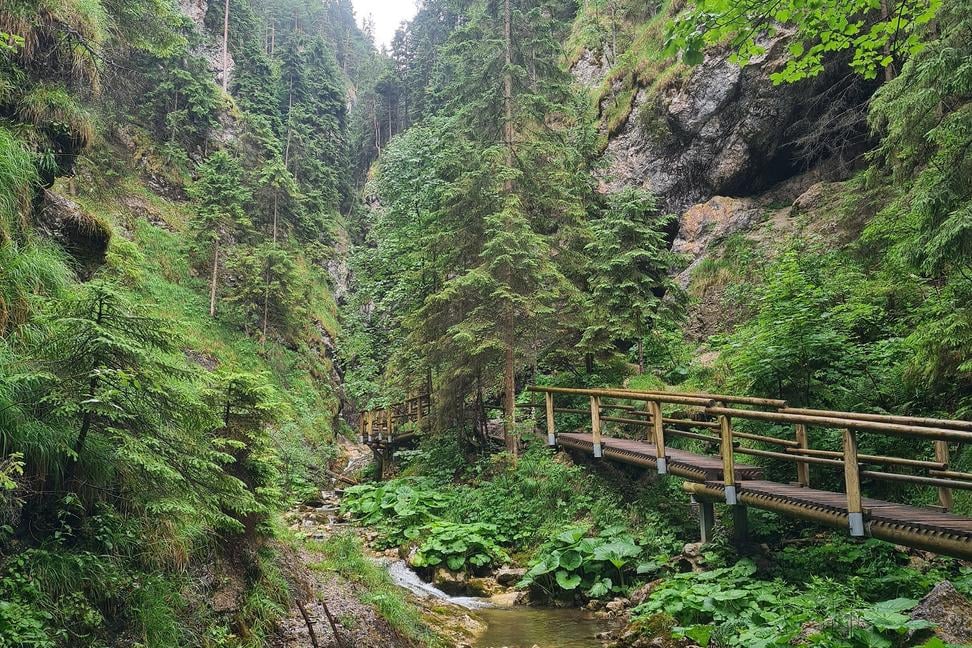
Jánošíkove diery or just Diery is a system of gorges and canyons in the Krivánská Malá Fatra. They are part of the landscape area of Veľký Rozsutec, which is a national nature reserve, and consist of three integral parts: Dolné, Horné and Nové diery. The Dierový stream flows through them, which formed them. An educational trail has been built in Dolné diery. Horné diery is closed in winter. Jánošíkove diery is accessible by attractive marked hiking trails with footbridges, ladders and chains. However, the most beautiful part is Horné diery with the largest number of waterfalls and ladders, which will take you to the Medzirozsutce saddle. From the saddle you can climb Malý and Veľký Rozsutec. There are up to twenty beautiful waterfalls in Jánošíkove diery. Bizarre rock formations with a specific climate are home to several interesting species of plants and animals.
Veľký Rozsutec (1610m) is located in the Krivánská part of the mountains and is considered one of the most beautiful mountains in Slovakia.
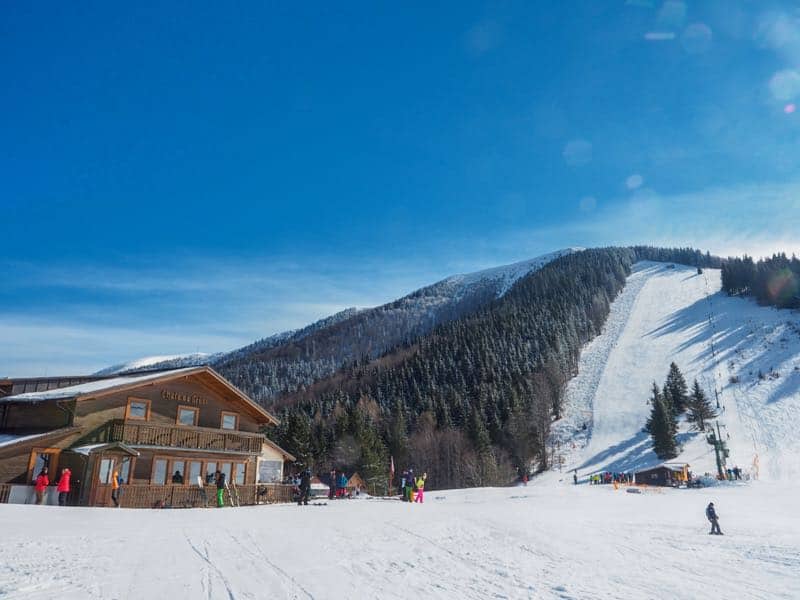
There are two ski lifts near the cottage with slopes with technical snowmaking, suitable for beginners and advanced skiers.
Injuries and accidents don’t just happen to others. So let’s do everything we can to reduce the risks we face when we’re in the mountains. We need to realize that by taking unnecessary risks, we can endanger not only ourselves but also those around us or those who come to our aid in the event of an accident.
Never leave the injured person alone. In general, help in the mountains is signaled by an audio or optical signal 6 times per minute. In case you need help, the signal for the helicopter crew is raised in a V shape. If you do not need help, the right arm is raised at an angle and the left arm is held at an angle to the body.
Choose a goal whose difficulty corresponds to your performance and health status. Any activity in the mountains can be harmful or even dangerous if you have a fever or other illness.
Eat foods rich in complex carbohydrates (i.e. biscuits, cookies, chocolate, etc.).
Drink as often as possible during the hike, but not alcohol. It reduces performance and attention, so it should be avoided when walking and climbing.
For the first 30 minutes of the hike, walk more slowly so that the body gradually warms up and adapts to the effort.
If circumstances allow, rest every hour on the hike, eat a little and drink a lot. Eat and drink even if you do not feel hungry and thirsty, because this replenishes the energy spent and lost fluids. With great fatigue and exhaustion, the feelings of hunger and thirst disappear. If you feel more tired, take a longer rest or decide to return with a guide. When resting, do not eat glucose alone, but also complex carbohydrates. If you notice signs of greater exhaustion in yourself or your companions, consider the possibility of hypothermia, acute mountain sickness (if you are at higher altitudes) or a combination of these.
If you feel more tired, take a longer rest or decide to return with a guide. When resting, do not eat glucose alone, but also complex carbohydrates. If you notice signs of greater exhaustion in yourself or your companions, consider the possibility of hypothermia, acute mountain sickness (if you are at higher altitudes) or a combination of these.
Movement in the mountains is also possible for children, healthy elderly people and some chronically ill people. However, caution and certain safety and health measures are essential. If in doubt, consult a doctor.
At altitudes above 2500-3000 m, do not sleep more than 300 m higher than the previous day. If possible, do not spend the night at the highest altitude you reached that day.
Even the smallest backpack has room for basic equipment: never forget sunglasses, gloves, a peaked cap, a bivy bag, a change of clothes, candles, matches, a flashlight and a first aid kit.
Get enough information about the local conditions, the difficulty and snow conditions of the planned hike, the climate and the weather forecast. If possible, leave a message about the intended hike and the expected return time.
Before setting off on a hike, it is a good idea to buy a summer hiking map, familiarize yourself with it and study the planned hike in advance. The marking of hiking trails in the High Tatras is clear, but with rapid weather changes, which is typical for the Tatras, we can get lost. The map will tell us more about the surrounding peaks, lakes, or the valley we are passing through directly in the terrain.
We should familiarize ourselves with the current weather forecast the evening before the hike. We can find out about the passability of the terrain and the weather at the Mountain Service House in Starý Smokovec. The weather forecast is important for hiking. The Mountain Service obtains weather data directly from the meteorological station on Lomnický štít and from Gánovce near Poprad. Summer heat gradually decreases with increasing altitude. It is not uncommon for us to be caught in a snowstorm, hail, or a thunderstorm with lightning at higher altitudes even in summer.
For every high-altitude hike, we must be appropriately dressed and equipped, appropriate to the difficulty of the hike. We basically use a hiking backpack and not bags slung over one shoulder or in our hands. The basis of physical and mental well-being is comfortable footwear: sturdy full-length shoes with a Wibram sole, leather, not canvas, a cotton T-shirt under a flannel shirt, a warm sweater, and a hat, a waterproof thin windbreaker or raincoat should not be missing from the backpack. If we are undertaking a demanding and long hike, we should also take a spare T-shirt and shirt.
Most hiking trails in Slovakia are marked with strip signs. They are red, blue, green or yellow. The edge strips are white to highlight the colored part. The color of the signs has a certain meaning:
Red signs – they mark important hiking trails, long-distance or ridge trails. They lead through several mountain ranges and sometimes go as far as abroad.
Blue signs – they also lead along important hiking trails, but they only pass through one mountain range.
Green signs – they mainly mark entry hiking trails, e.g. from valleys to ridges.
Yellow signs – they mark simpler trails that connect to important trails. They are mainly located around towns and villages.
An arrow is placed in places where the trail changes direction significantly. Its tip shows the direction of the next path. If there are several hiking trails in a certain section, the signs are placed together in one place. Here you have to be careful to continue your journey in the right direction.
Shorter hiking trails around towns or major tourist centers are marked with local signs. Their colored triangle is painted in one of the four colors mentioned. Local signs also use arrows when there is a sudden change in the direction of the trail.
Strip or local markings are often supplemented with meaningful signs. They mark turns from the main trail that are no longer than 1 km. Both ends of the marked trail, as well as the end of each turn, are marked with a meaningful end sign.
- If you arrive at an unfamiliar location (for example, in a village), you will usually find the beginning of the tourist signs at the train or bus station, in the squares or in the middle of the village. There are also tourist signposts at these places, which will tell you how much time you need for the selected hike. - On field sections, look for signs on trees, marker posts or larger stones.
- On longer sections where there are no turns or intersections, there is usually a so-called consolation sign every 250 meters, so that you know that you are going the right way.
- If you are crossing a larger meadow with a poorly marked trail, look for a sign on the opposite side of the meadow. It is usually located on a larger tree or rock. This sign is called a "heron".
- If you come to a trail junction that is not marked, continue straight ahead. However, if you still can't find a sign even at a greater distance, return to the intersection and look for a continuation in a different direction.
- If you are traveling on a hiking trail that is not sufficiently marked, hold on. Don't experiment unnecessarily and don't get off it. It will definitely lead you to your destination and is safer than walking through unknown terrain. red sign – long-distance or ridge trails
Consideration for other resort visitors
- Behave in a way that does not endanger your health or cause harm to others.
Controlling speed and riding style
- Ski/snowboard in a way that allows you to see ahead. Adjust your speed to your abilities, the quality of the terrain, snow conditions, and the density of skiers/snowboarders on the slope.
Choosing the direction of travel when riding from behind
- Choose the direction of travel in a way that does not endanger skiers/snowboarders riding in front of you. The skier/snowboarder in front always has the right of way. When riding behind another skier/snowboarder, make sure you leave enough distance to leave the skier/snowboarder in front free space for the direction and style of riding. The skier or snowboarder riding behind must not endanger the skier in front of you.
Overtaking
- You can overtake from the right or left, but in such a way that the skier/snowboarder you have overtaken has sufficient space for the direction and manner of riding. If a collision occurs, the skier coming from behind or from the side is responsible.
Entering the track and starting after stopping
- When you enter the slope or have stopped and want to continue riding again, you are obliged to make sure that no other skier/snowboarder is approaching from above or below, so as not to endanger yourself or another skier/snowboarder.
Stopping and standing
- In narrow and obscured parts of the slope, you must not stop or stand without reason. In case you have had a fall, you must leave this place as soon as possible.
Ascending and descending the slope
- When ascending or descending the slope, use the edge of the track.
Respecting the markings
- You are obliged to respect the markings and signals on the slope. Never enter routes or slopes that are closed.
Providing assistance in the event of an accident
- On the slope, you are obliged to provide assistance and report the accident to an authorized person, or to the Mountain Service.
Proving your identity
- If you are involved in an accident on the slope, you are obliged to prove your identity to the Mountain Service.
Further advice
- Check your sports equipment thoroughly before entering the slope.
- A person under the influence of alcohol or drugs does not belong on the slope.
- Do not go on the slope without a helmet!
Ski trail markings
Green (not used in Switzerland) - very easy
Blue - easy
Red - difficult
Black - very difficult
Yellow (used in Switzerland) - marked, unmaintained, uncontrolled
Off-piste markings
yellow - low to moderate avalanche risk (level 1-2)
yellow-black checkered - increased to high avalanche risk (level 3-4)
black - very high avalanche risk (level 5)